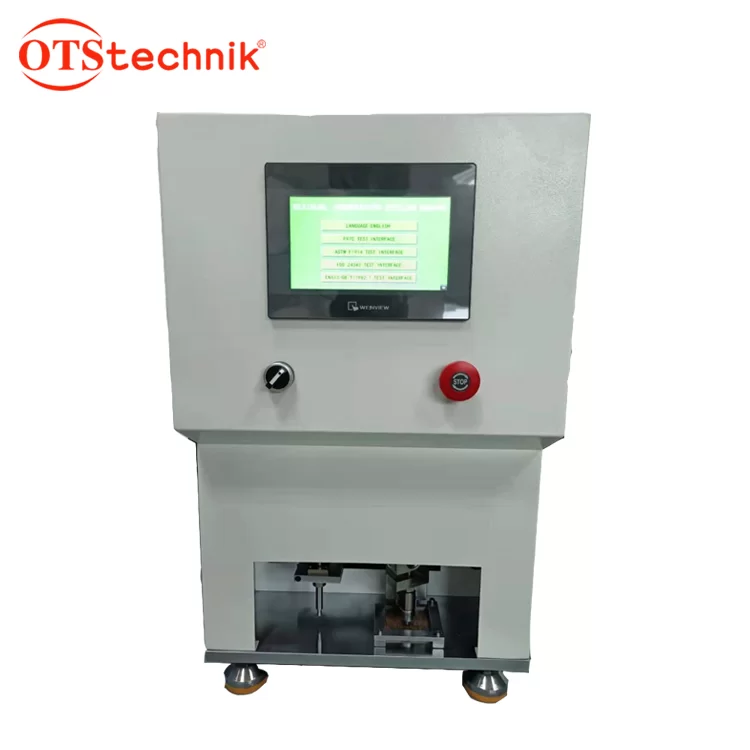
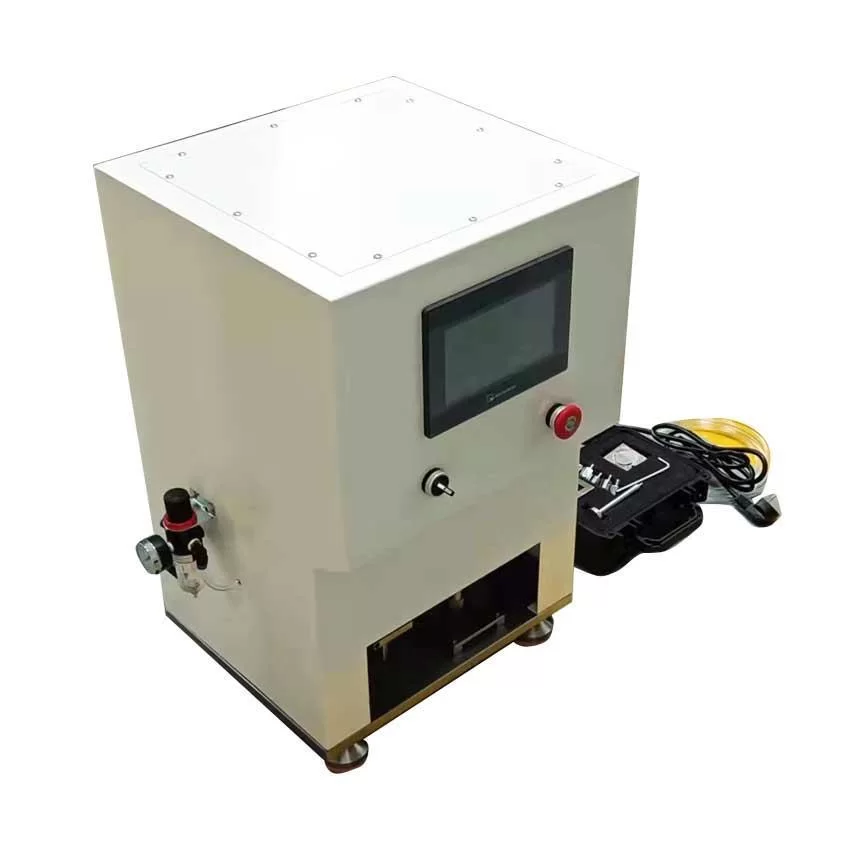
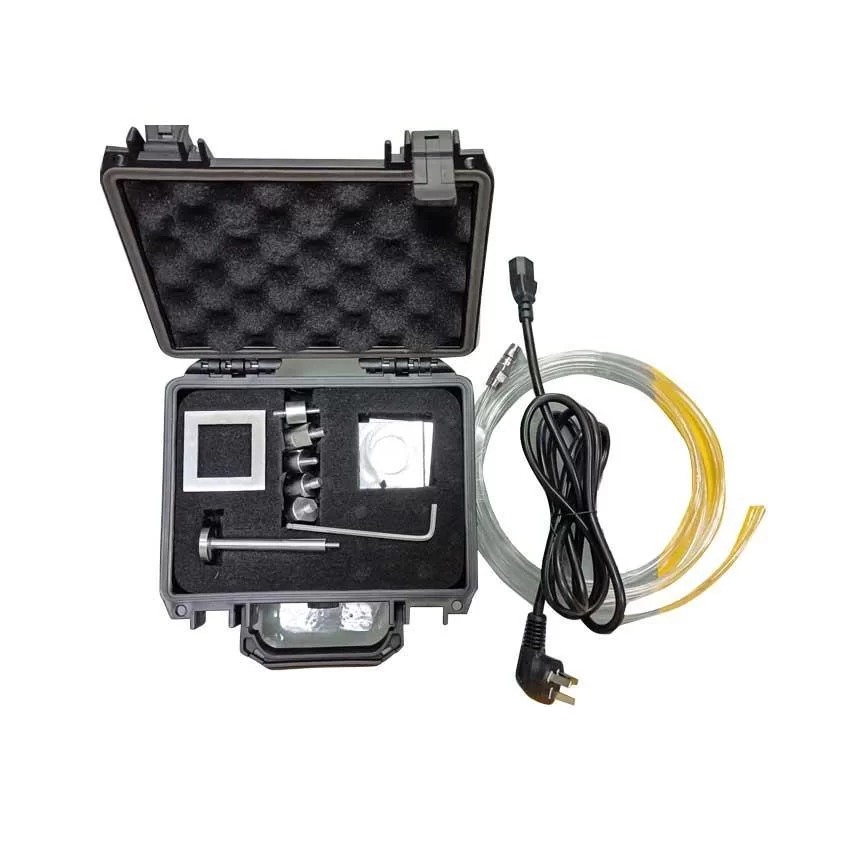
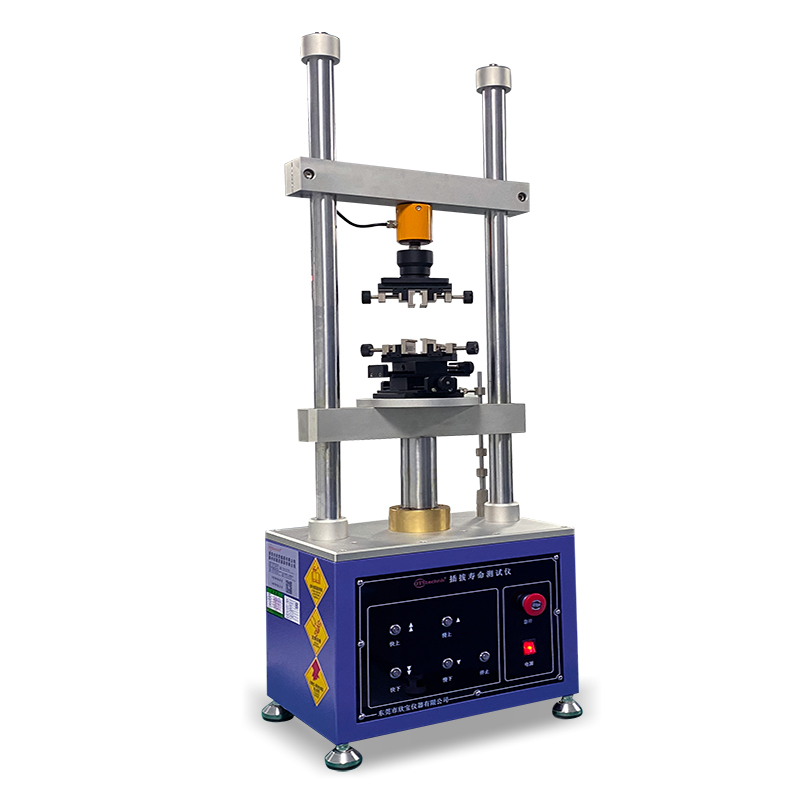
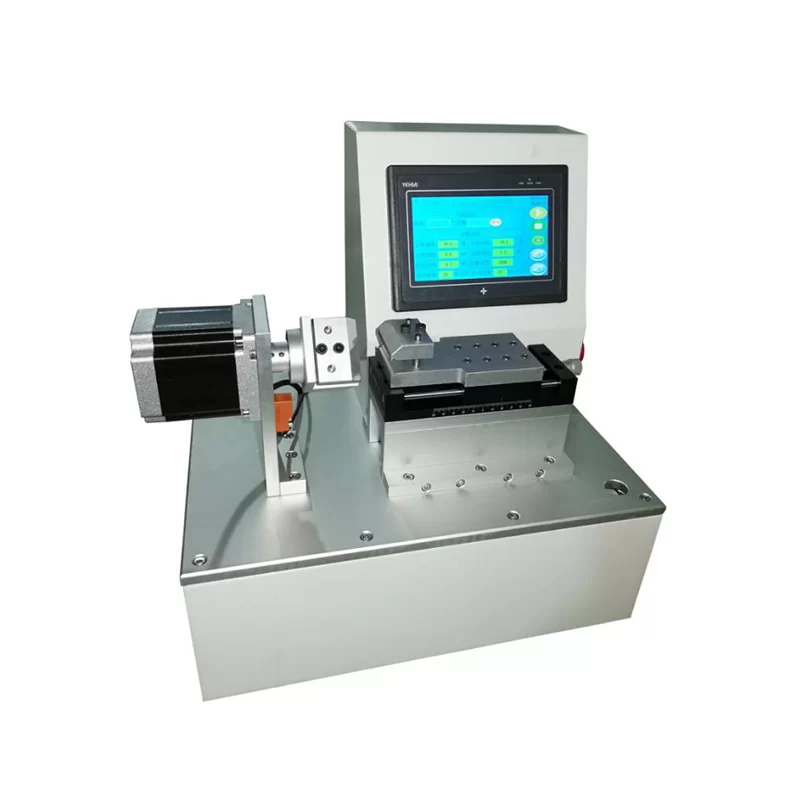
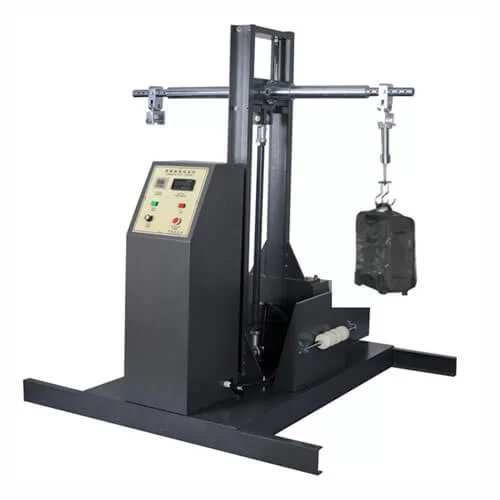
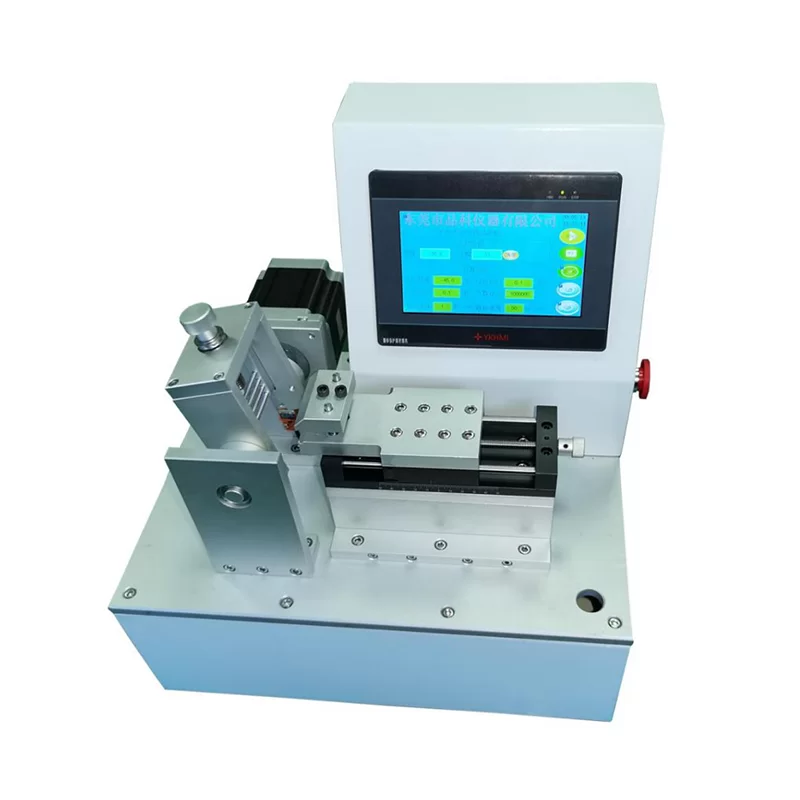
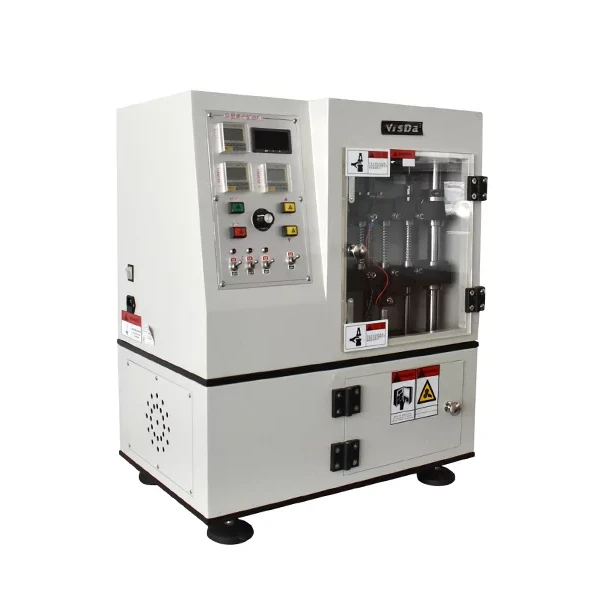
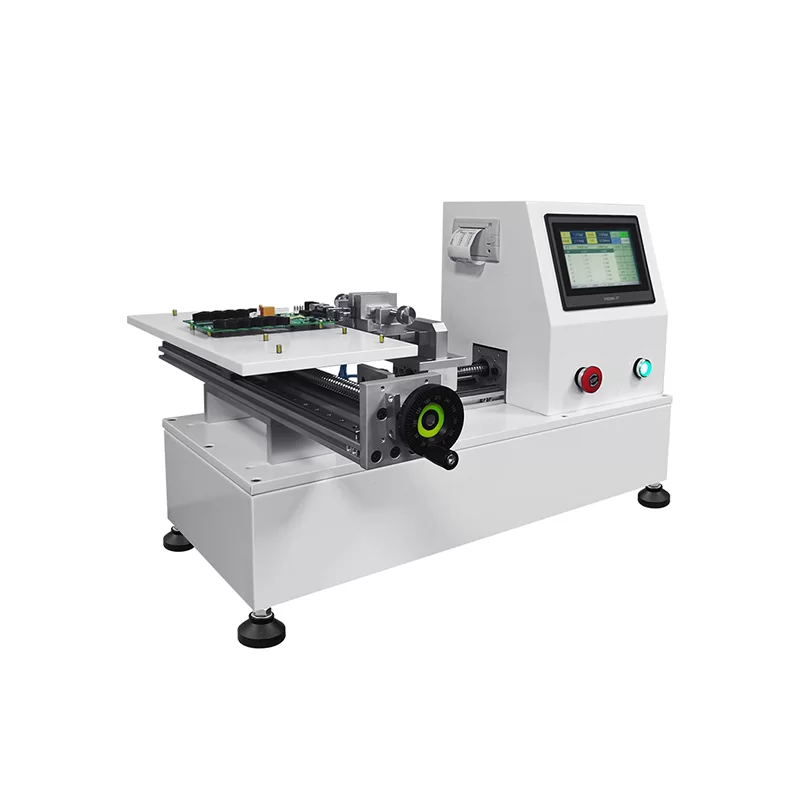
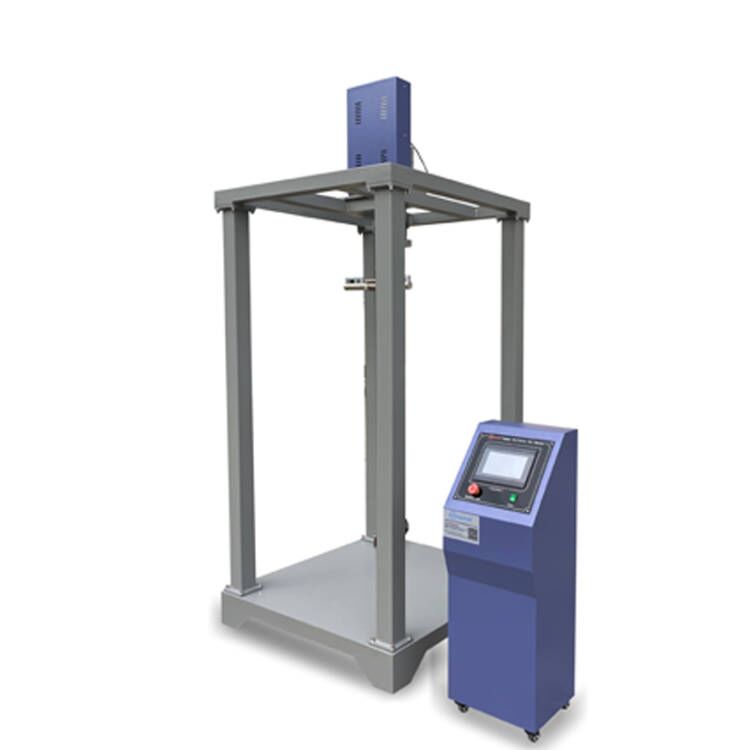
Automatic Residual Indentation Tester Specification
|
Test standard
|
EN433、ISO24343-1/2、GB4085、ASTM F1914、ASTM F970
|
|
Loading mode
|
Automatic loading, automatic surveying
|
|
Test features
|
Fully automatic one-click completion of residual sag, thickness measurement
|
|
Test Station
|
Single Station
|
|
Sample Space
|
(20~70)mm
|
|
Sample Specifications
|
60x60mm and 50x50mm
|
|
Load
|
0~2000N Can be set within the range
|
|
Load Header
|
Ф(11.30±0.05)mm and Ф(4.521±0.0127)mm, Ф(19.05±0.0127)mm, Ф (6.35±0.0127)mm
|
|
Pressure holding time
|
Arbitrary settings within the 0~600min range
|
|
Power
|
220V
|
|
Dimensions
|
About L200×D320×H576mm
|
|
Weight
|
About 40kg
|
Advantages of Automatic Residual Indentation Tester
Description Table of test steps and efficiency characteristics of residual sag in different styles:
| EN433、ISO24343-1/2 European Standard Test steps | ASTM F1914、ASTM F970 American Standard test steps | Fully automated test steps and features(While meeting EN433、ISO24343-1/2、 GB4085、ASTM F1914、 ASTM F970) |
|---|---|---|
| 1. Cut the sample, first use the thickness meter to measure the original thickness of the product, recorded as T0; | 1. Cut the sample, first use the thickness meter to measure the original thickness of the product, recorded as T1 | 1. Libang according to European Standard and the United States standard two test methods, the preparation of PLC procedures, testing, only the selection of test standards, the sample placed the corresponding pressure head, the machine automatically one-click to complete a series of test steps and automatically save data, without personnel timing, manual measurement, waiting and avoid the error of manual operation of personnel.
2. The system has automatic timing, automatic thickness measurement device. Automatically stops after the test is completed, automatically saves the test results of the display sample and the graph of the test process, and can output the test report via the USB interface. 3. Machine with automatic positioning function, can save an operation engineer, fully automatic one-click to complete (European Standard and American standard) test. |
| 2. Placing the specimen on the test bench is under the loading head; | 2. Place the specimen under the loading head, rotate the weight loading device until the weight loader leaves the loading head adapter lever, clear 0 thickness meter; | |
| 3. The control weight is applied to the initial load of 3N in 5 seconds, and the recording thickness is TA. Manually increase the weight to reach the total load to start the stopwatch timing in 500n, 2 seconds (holding time); | 3. Manually load the appropriate weight weights by standard and required test methods; | |
| 4. Test load pressurized and start timing, pressurized after 150min, recording sag depth recorded as TB; | 4. The rotary weight loader loads all weight weights on the loading load, starts timing, records the current sample thickness after recording, and is recorded as T2; | |
| 5. After removing the load, after placing 150min, the measurement thickness is recorded as T1 using the thickness meter; | 5. The rotating weight loading device Releases the weight, the sample naturally relaxes and restores 60min to measure the sample thickness again, recorded as T3; | |
| Calculation: Manual calculation and statistics of the above data according to the requirements and formulas within the standard | Calculation: Manual calculation and statistics of the above data according to the requirements and formulas within the standard. |
